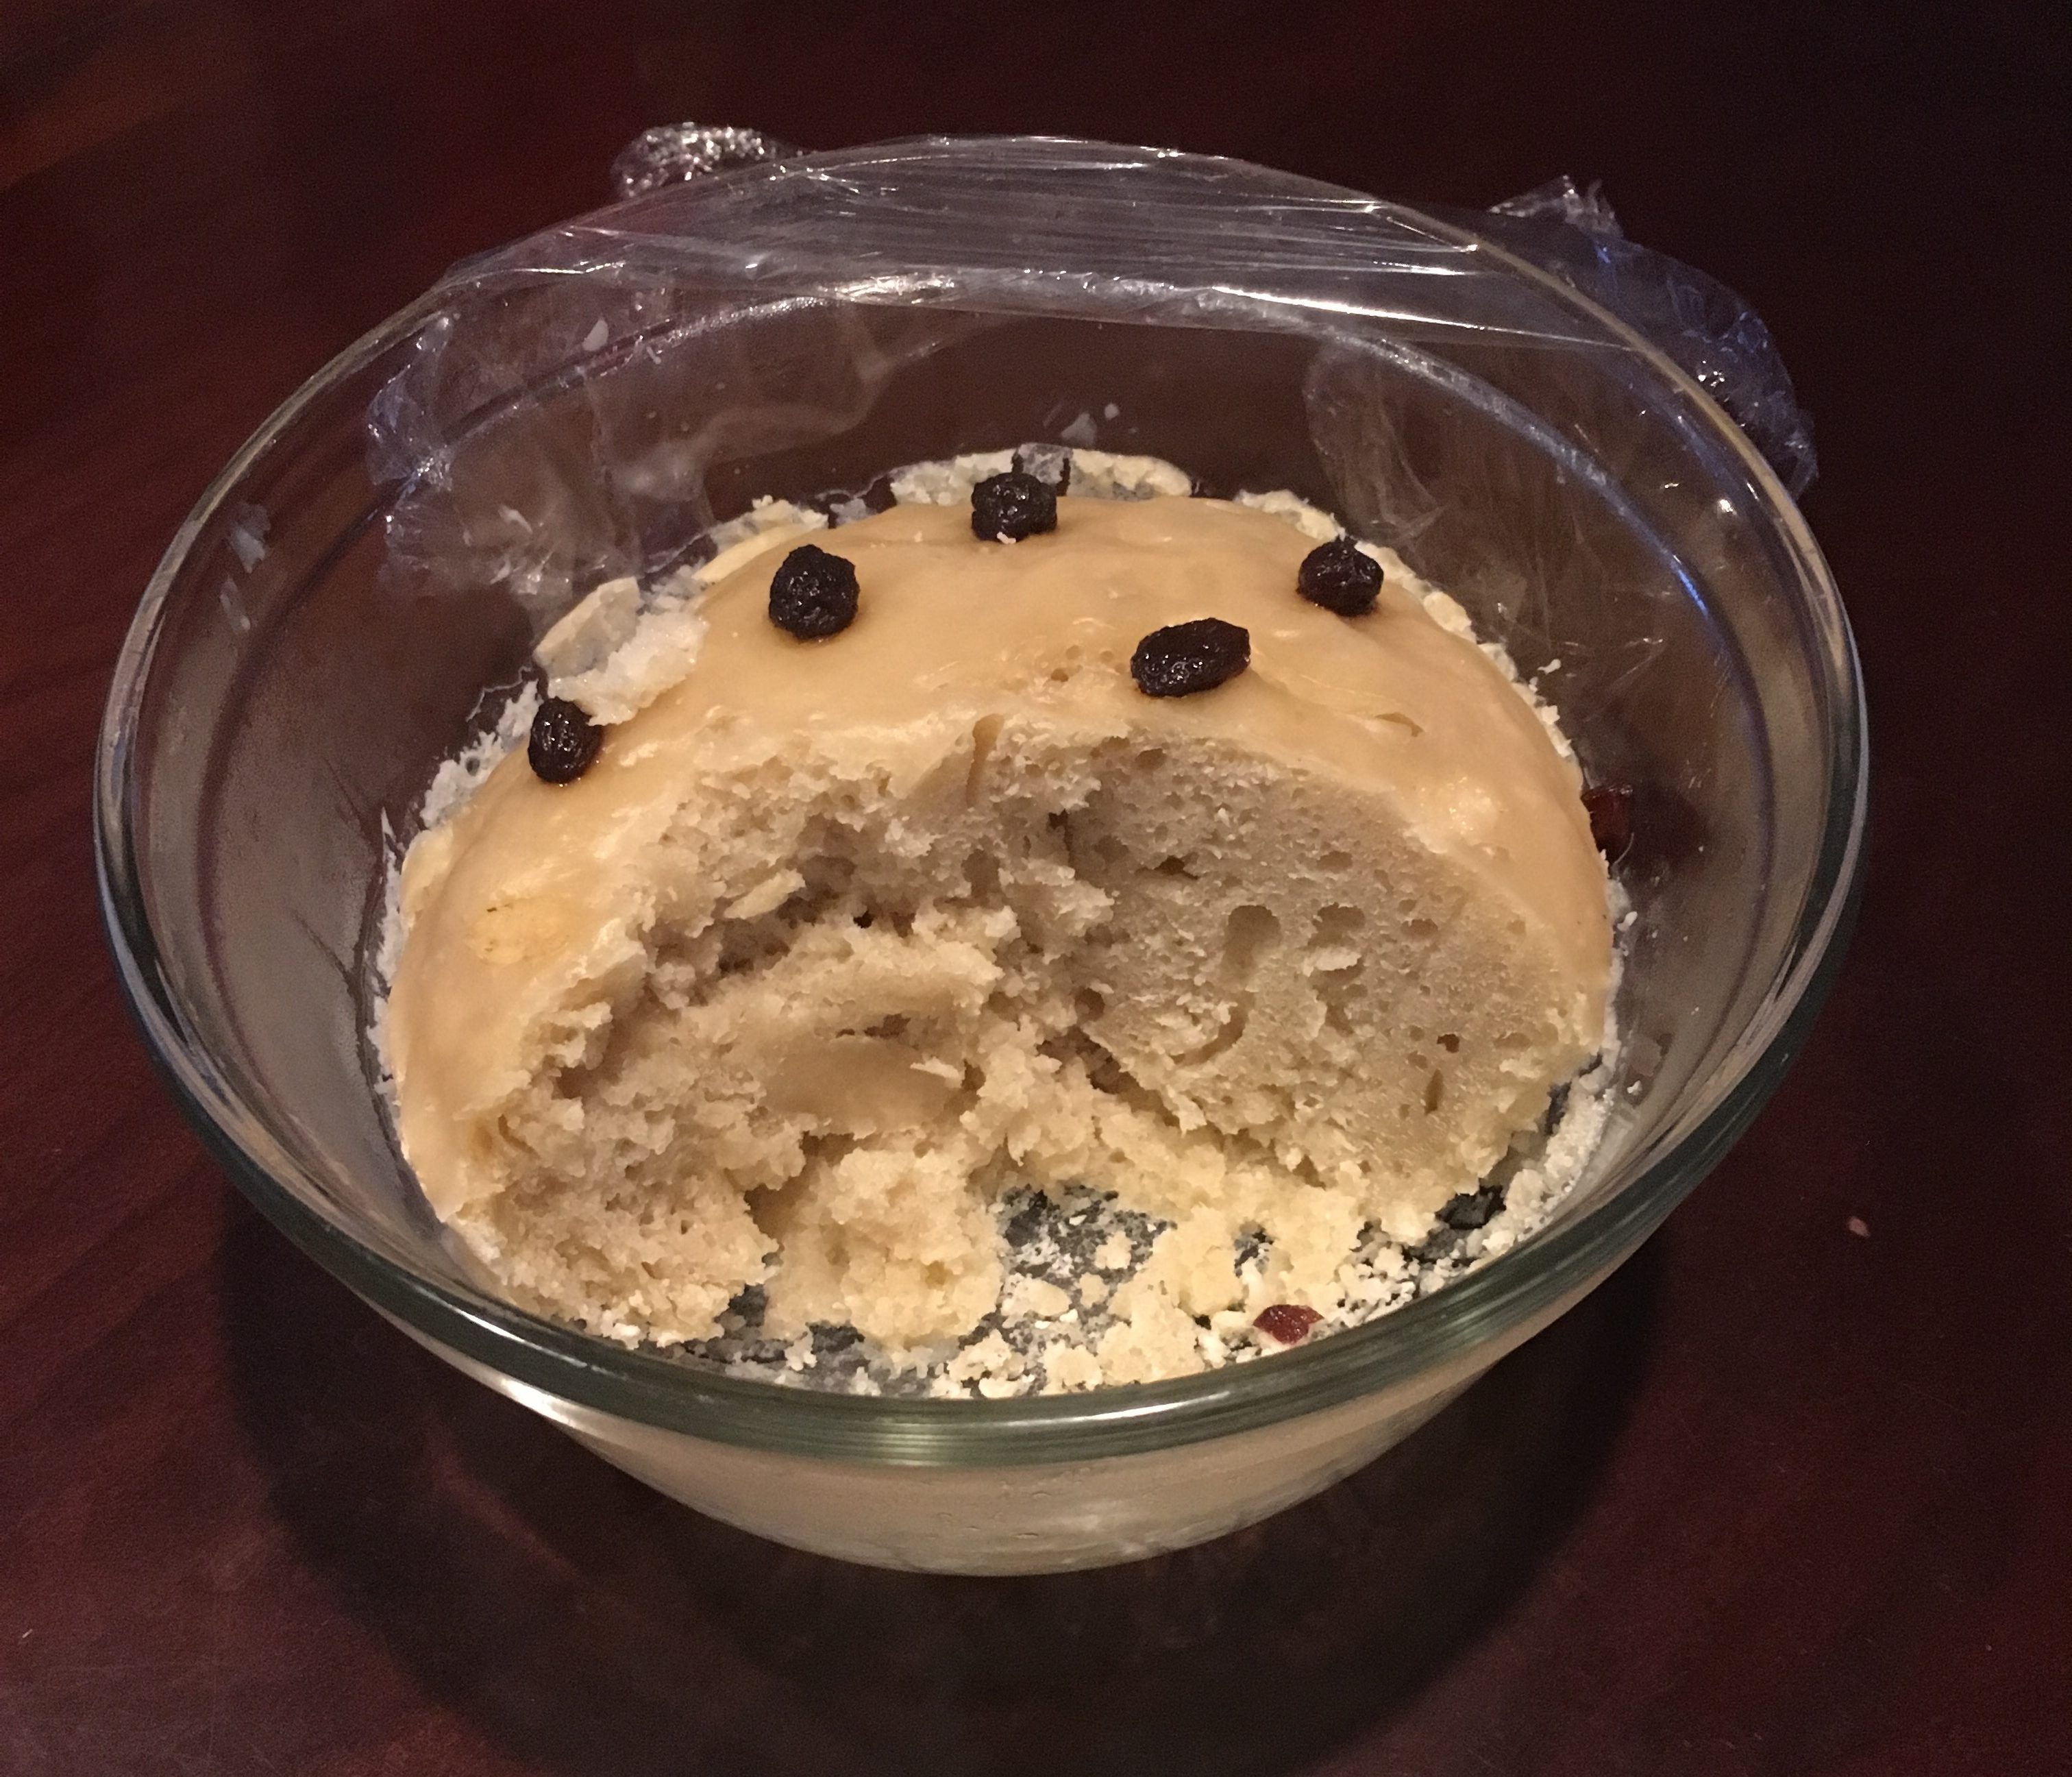
I am publishing this way after the fact, but I believe this is one of our early forays into steamed bread.
GRIZZLY PEAR

I am publishing this way after the fact, but I believe this is one of our early forays into steamed bread.
I’ve been enjoying the products of the food scientists at the local fast food chains and it’s become clear it’s time to change things up.
Our office has a large break room with a good sized kitchen sink, so I woke up this morning and realized that if I brought some balsamic vinegar, olive oil, the salad spinner, some greens, and nuts, I’d be doing pretty darn good. There is also a range, so I could also bring eggs if I’m feeling particularly fancy.
I suspect I’ve been trapped in a mindset created way back in Houston when we didn’t have a car for a year and a half. But I have one now, and if I’m gonna drive to BK, I might as well go to Smiths and get something slightly less unhealthy.
As a state employee, I got to take Nevada Day off. So the night before, I went ahead and mixed the dough at the next step up, 75% whole wheat.
100g all purpose flour (Arrowhead)
300g whole wheat flour (Montana Wheat)
300g water
100g starter
11g salt
11g olive oil
I have a habit of waking up early during the work week, because I starting thinking about work the moment I wake up, which then makes me unable to fall back asleep. However, since this was a weekend day for me, I managed to sleep in to 0740 and it meant the dough was on the edge of overproofing.
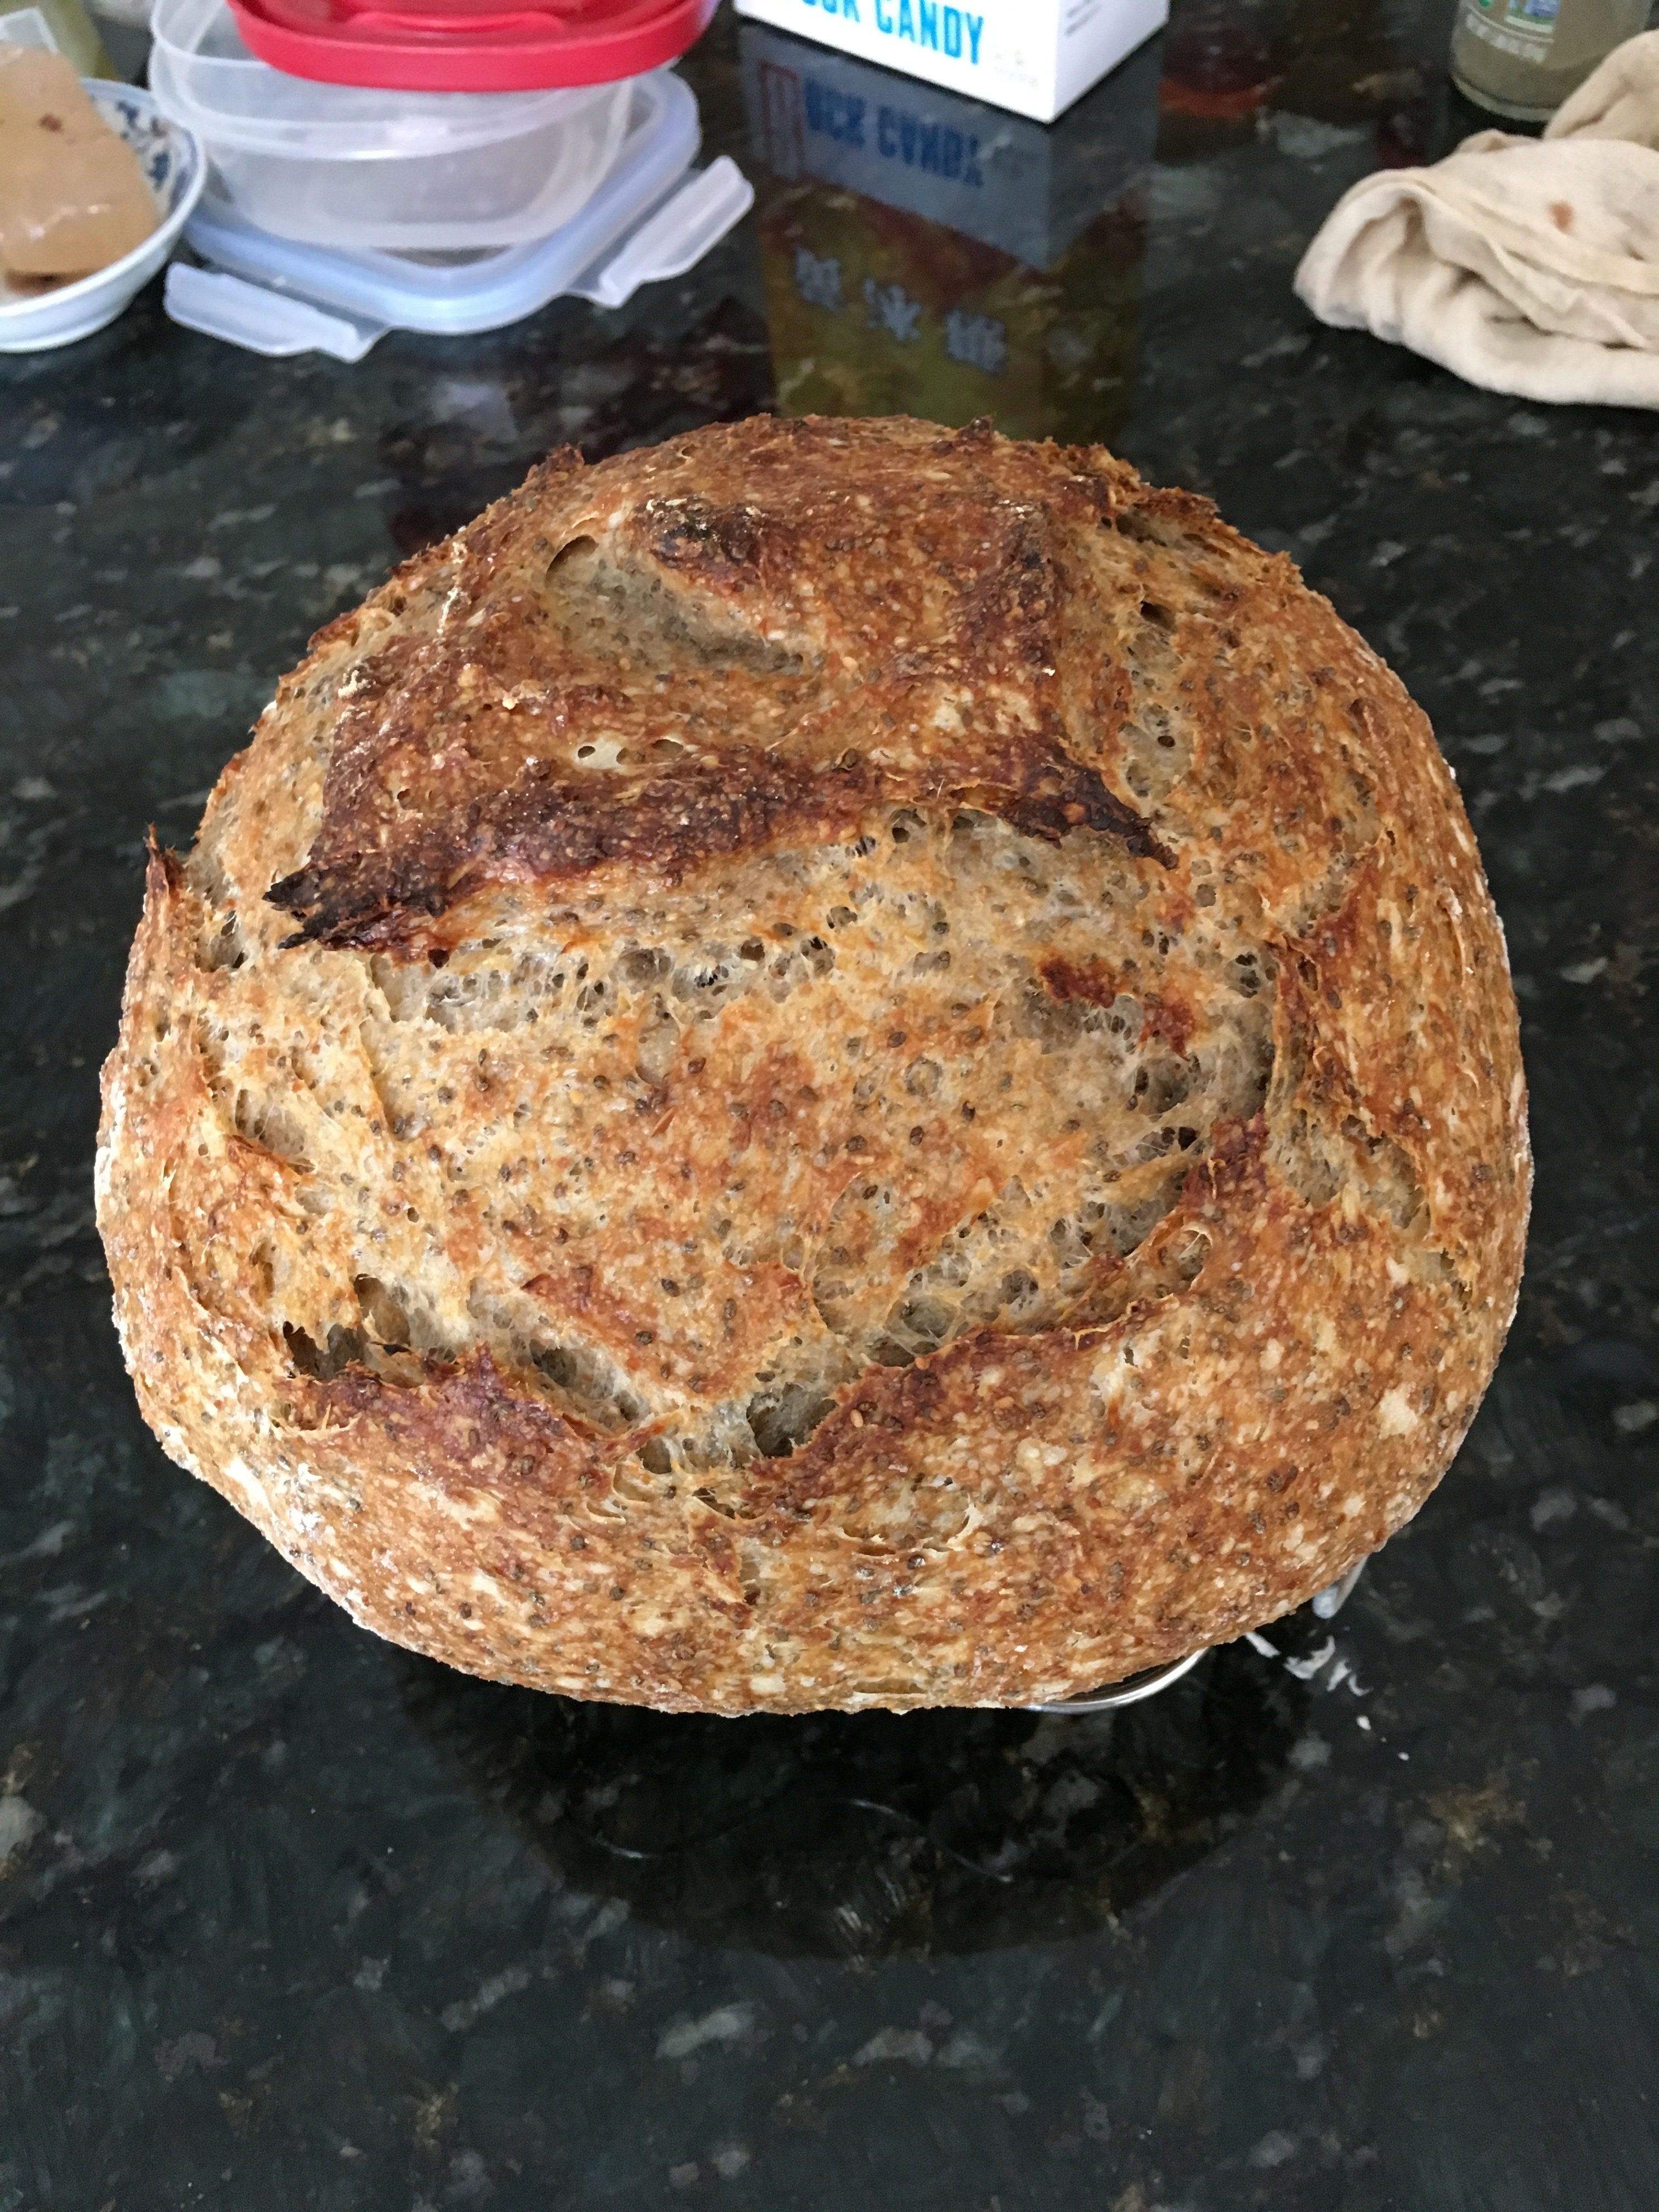
I fired up the oven, preshaped the dough, and once the oven hit 450, I pulled out the pot, folded the dough and threw it in, and gave it the new square snip patter on top. The thing was a little misshapen, but it came out well. The flavor is fairly wheaty, but noticeably more than the 50% mix.
The next step would be to either go up to 100% and see where it takes me, or to try making the 75% without the olive oil. I’m not sure which one will come next.
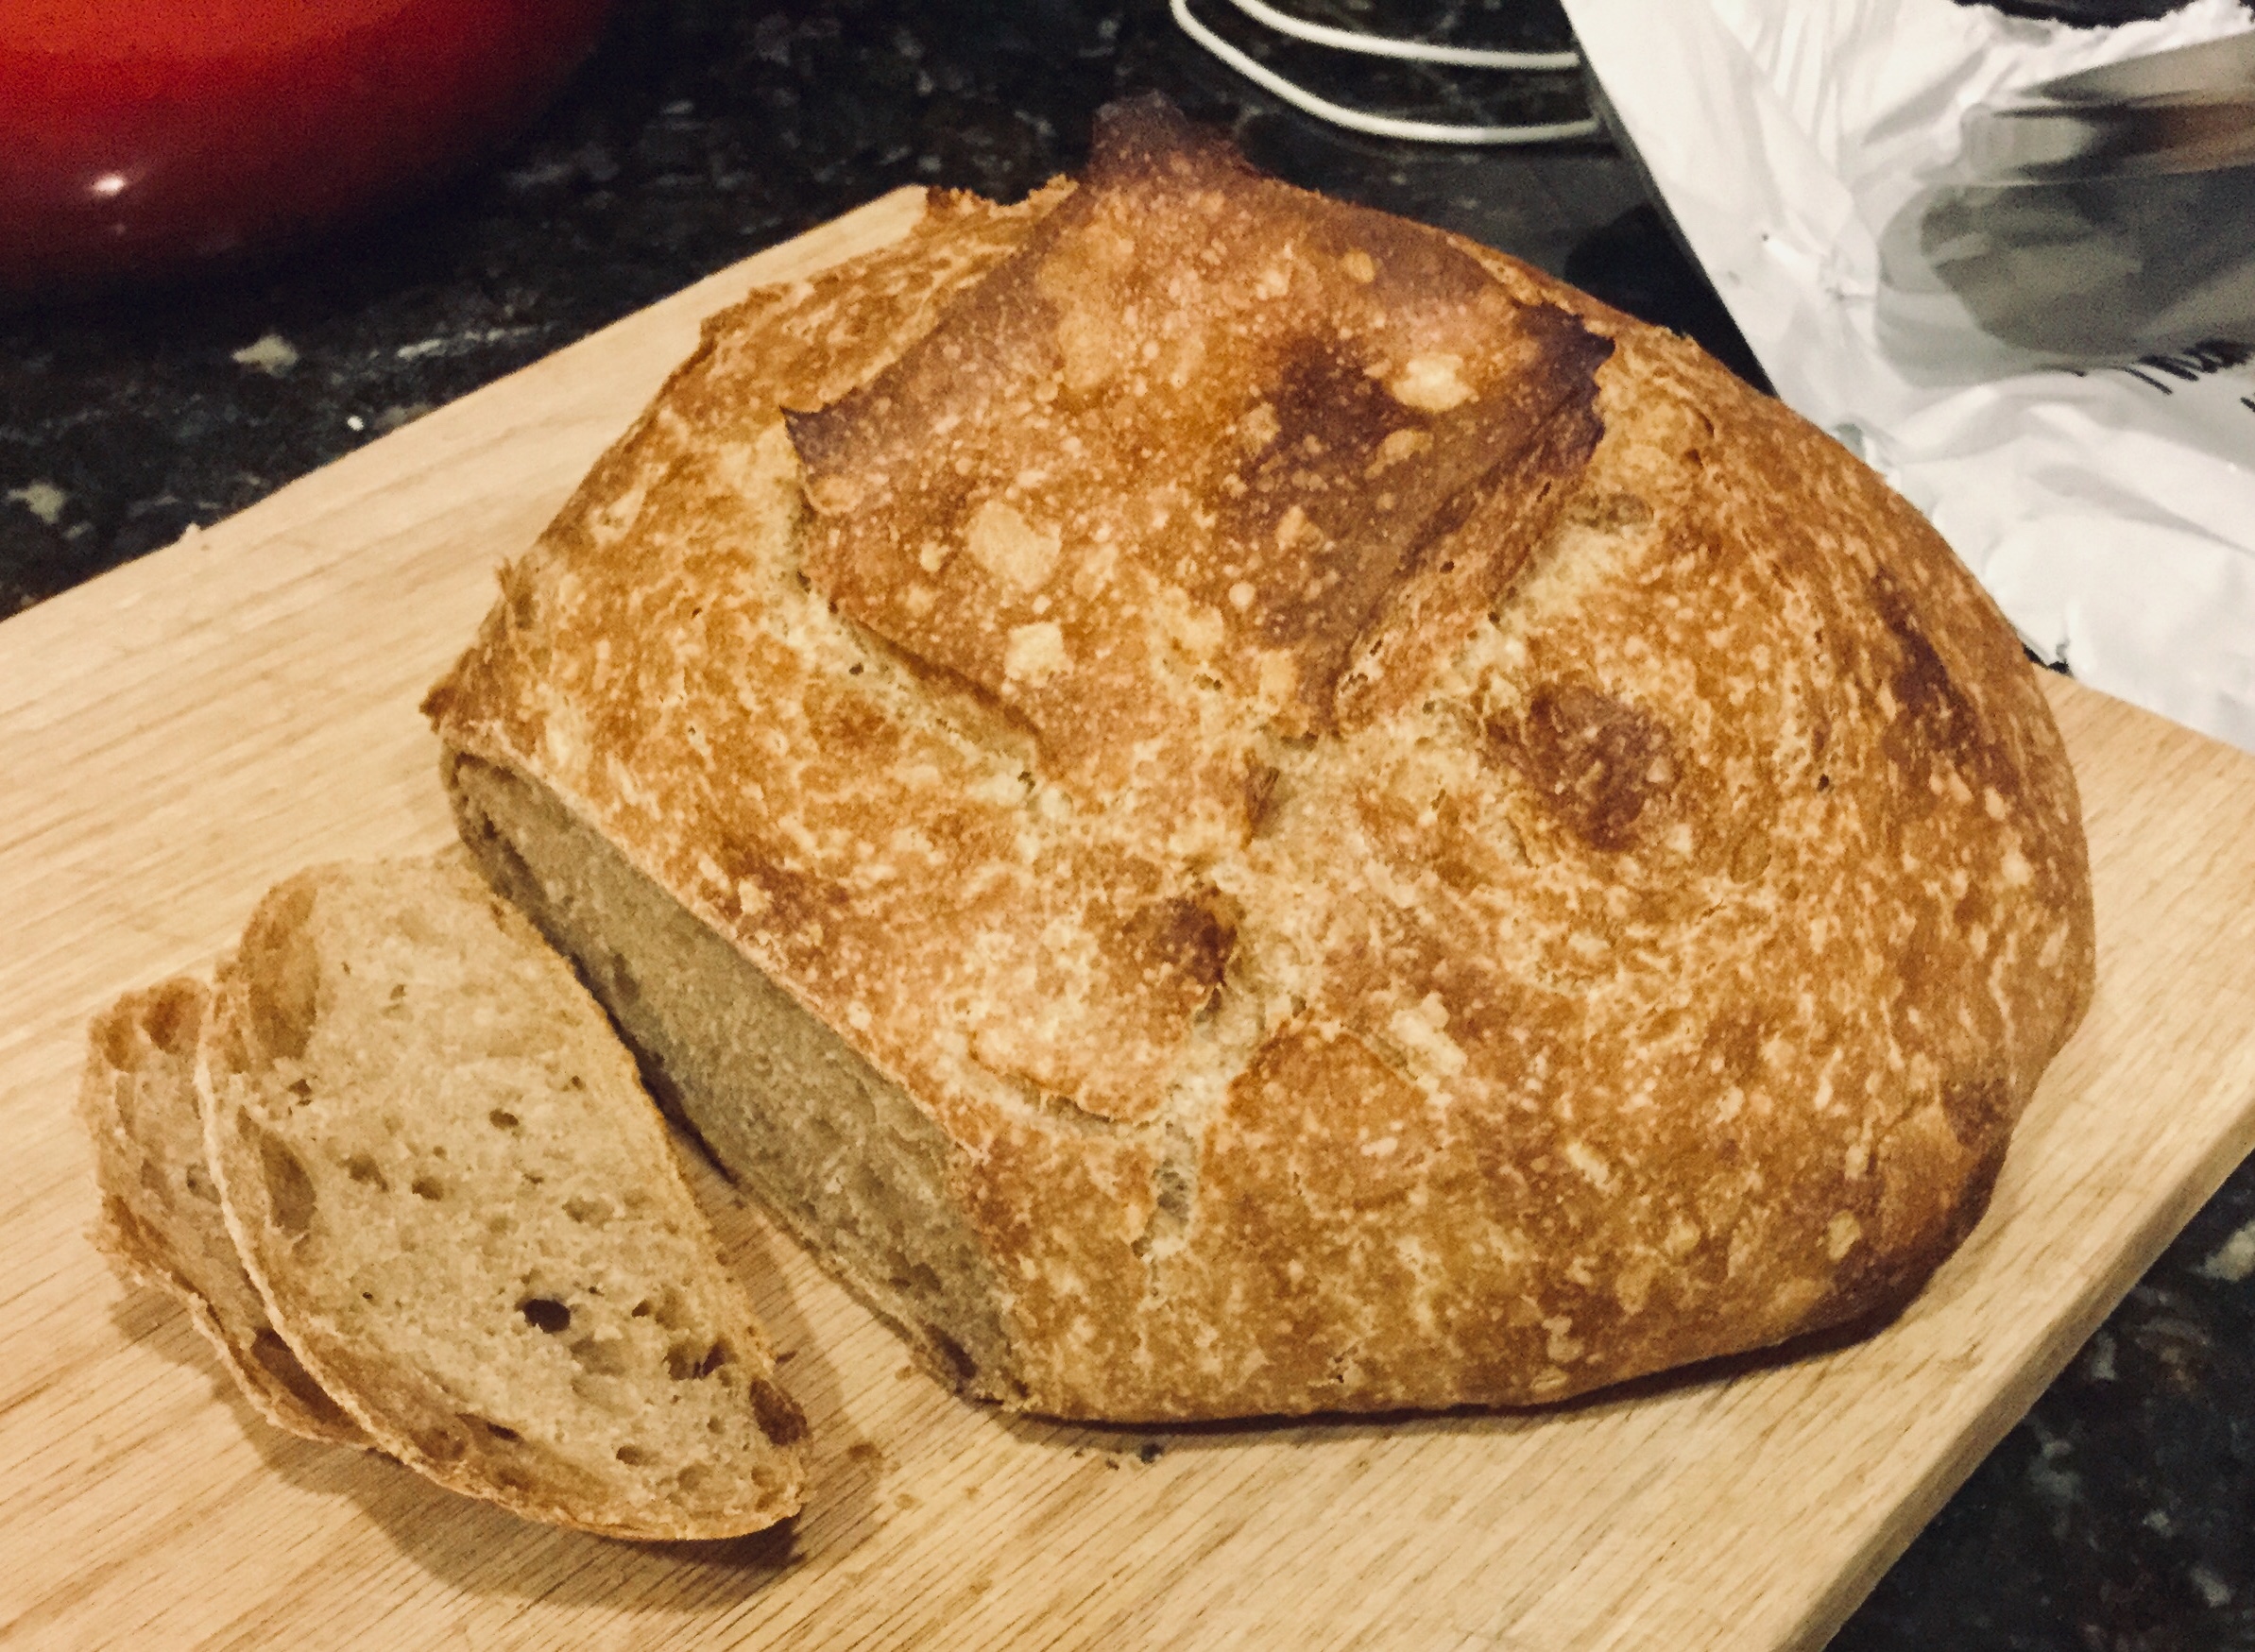
As I’ve mentioned before, I am revisiting whole wheat flour in the bread. As the ratio goes up, I’ve decided to strip out the supplemental fun stuff and just focus on the dough until I can get it working right. This week was 50% whole wheat.
200g all purpose flour (King Arthur)
200g whole wheat flour (Montana Wheat)
300g water
100g starter
11g salt
10g olive oil
The dough came out nicely. It was in a good mood in the morning and while it had to wait in the fridge while we ran errands, it seemed to be quite happy after warming up in the afternoon sun.
However, as you can see in the photo, the loaf did not expand as much as I expected. Maybe it was because it was baked in a 350f oven because we were cooking some other items. Or maybe it’s just the whole wheat flour. That said, it rose well enough that I’m going to go to 75% whole wheat next week. I expect to run into some bad loaves as I keep pushing it up to 100% over the next month, but I intend to get some good 100% loaves before dialing it back to a happy sweet spot.
Even if the rise was not as explosive as I would have liked, this bread tastes quite good. With 50% whole wheat, it is starting to take on a distinctly whole wheat taste. It’s not one I necessarily like, but I don’t dislike it either. In lesser amounts like my old standard of 15% to 20% whole wheat it definitely adds a very nice complexity to the loaf. I’m curious how I’ll like the flavor as the ratio starts to reverse.
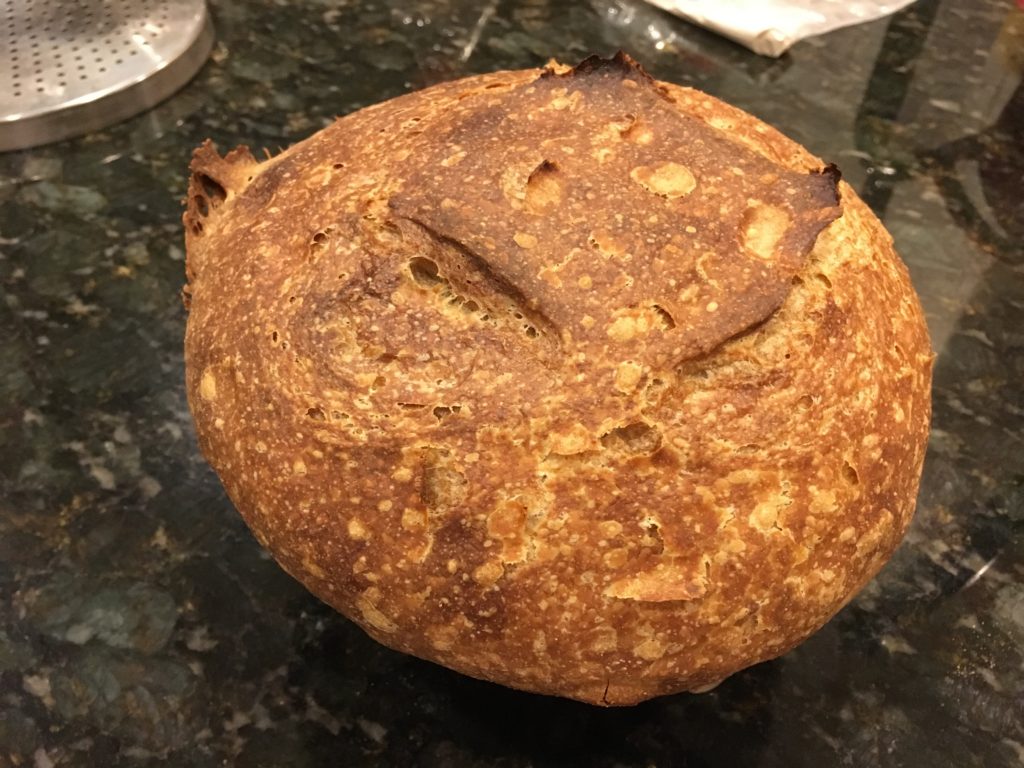
We usually take about a week to get through our loaves. But last week’s loaf was moldy on Friday morning. So Friday evening, I mixed up the dough for a Saturday morning bake on Friday. To avoid overproofing, I threw in a couple extra grams of salt as well as put the dough in the garage.
300g all purpose flour (King Arthur)
100g whole wheat flour
300g water
100g starter
13g salt
60g chia seeds, soaked in 90g water
60g flaxseed meal, soaked in 90g water
It turns out I overdid it. The dough was not ready for bake when I first woke up in the morning. In fact, I ended up throwing it in the proof function of the oven for a couple hours before starting the bake.
For giggles, I tried a different pattern for the cuts on top, four snips for a square and one in the middle for the 5th. I think I’m going to try a pentagon or a star shape next time. Maybe at some point I’ll just have to get over the silly asian superstition about the number four and just live with a simple square.
The flavor at 25% whole wheat is quite good. I’m realizing it was a mistake to stop putting whole wheat in the bread earlier this year. I always felt a little mental pressure to use up whole wheat the oils that may go rancid, and I just didn’t want to deal with it after I used up the last bag. But there was a little extra complexity in the flavor this week that I realized had been missing for quite some time.
Being Saturday morning, we went ahead and cut into the loaf fresh out of the oven for breakfast. Between going lower on the water for the flaxseed meal, and the early cut, I’m going back to leaving the lid of the dutch oven ajar. Hopefully we’ll eat our way through this one before the spores come.
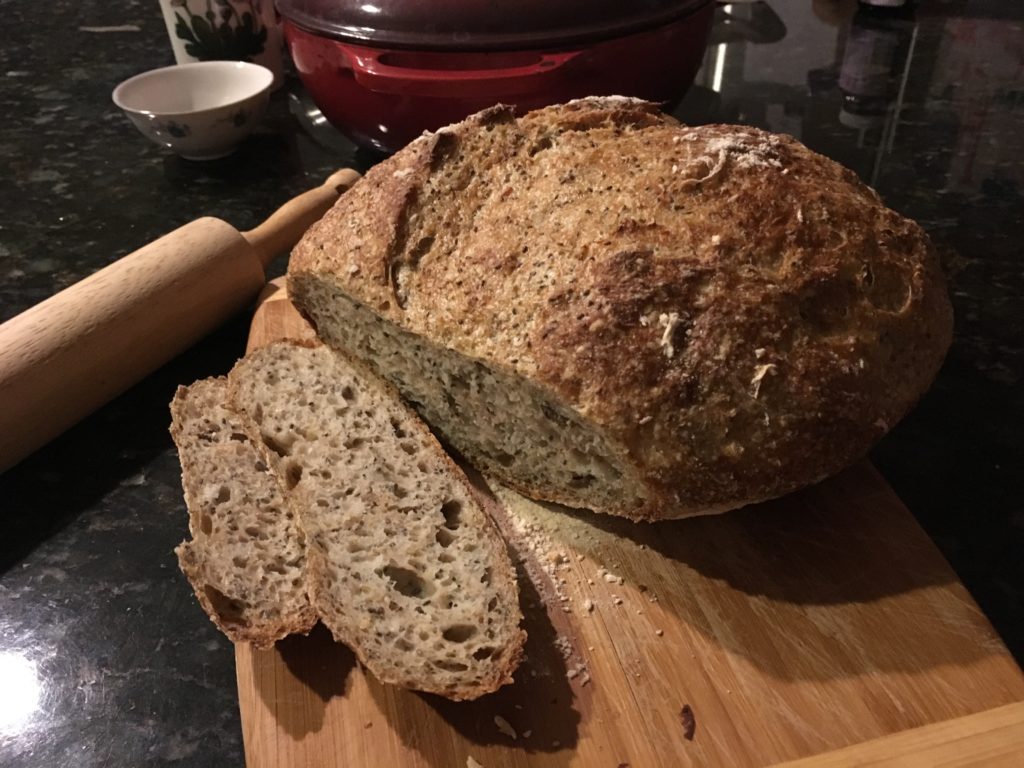
Here is my basic bread recipe. It’s pretty straightforward, as long as you have a kitchen scale. The ratio is, 1 leaven: 3 water: 4 flour: .1 salt. Since my 3 quart Dutch oven limits the loaf size, that means my basic recipe is:
100g starter
300g water
400g flour
10g salt
I keep my starter mix at 100 percent, regularly fed with equal weights of flour and water. The starter lives in the fridge and is refilled whenever I bake bread or make pancakes, at least once every two weeks. It might be able to survive longer without feeding, but I’m not going to try.
I would go deeper into making the starter, except for the fact that I basically followed the instructions on Mike’s sourdough website. I really like his straightforward approach to the process. Don’t be intimidated, fermentation just happens, mix some water and flour and the germs in flour will happily do their duty. Jewish tradition considers bread to be leavened after 18 minutes, which is a wildly optimistic timeframe, but the sentiment is much closer to the truth than anyone who makes it sound like a big deal.
As for the bread itself, you can jazz it up in two ways. First you can tweak the flour itself. I’ve found that 20% whole wheat flour has minimal effect on the final product aside from making it healthier. Once you go above that, the loaf does start to get whole wheat-y. Second, you can add fun stuff. Generally my rule is +30% of flour weight of things like nuts, seeds, dried fruit, or even grain porridge. As I write, I’ve realized you should be able to actually go higher, since I was adding 7% wheat germ to the dough when I came up with that +30% rule, so it most likely means you could throw in up to forty percent in other random stuff. If you’re not sure, go ahead and presoak these extra items, since you don’t want to throw off the hydration ratio of the main dough. I would guess 150% of the weight of the fun stuff stuff is a good rule of thumb for starters (such as 60g chia seed + 90g water).
By the way, the first few of my consistently good loaves were ones with stuff added to it (such as 15% raisins + 15% walnuts). This is a completely uninformed theory, but I suspect the extra chunks acted as aggregate in concrete, making it easier to shape.
The process itself is also pretty basic: Autolyse, mix, wait a while, preheat the oven, preshape the dough, shape it again, and bake it covered, and then take off the cover, and then let the loaf rest.
And that’s it.
But before I let you go, here is some additional commentary.
If you overproof your bread, it isn’t actually the end of the world. Throw in some fresh flour (I’ll add 100g flour to my 400g flour loaf), mix it up with the dough, and give it a couple hours. But then you should have something you can shape and bake, and a dough that now coincidentally meets Ruhlman’s 5 flour:3 water ratio. I only figured out this general game plan a couple months ago, so I don’t have a fixed process yet, but know that it is salvageable.
While you are waiting for the dough to rise and you find yourself stepping out of the house for an extended period, throw the bread in the fridge and bake the next day. The long cold storage will make the bread a bit more sour, which may be a feature if you actually want sourdough to be sour. In fact, my bread made with the standard process above without refrigeration is not sour at all.
Unlike true professional bakers, I’m just happy with getting a consistently decent loaf (better than anything you can get from the supermarkets, including Whole Foods). When you read those recipe books, you’ll see authors geek out on flour, temperature, time, starter condition, etc. I grant that carefully controlling all those variables is necessary for getting the absolute best possible loaf out of the oven, but I don’t think it’s worth the stress. Instead, I follow the attitude that I came across at the back of a mud oven book at the library, where the hippie author gives a very generic sketch of instructions for sourdough and then tells the reader to enjoy what comes out.
However, I do strongly recommend geeking out with cookbooks at the library. All these books follow same pattern – sell the idea of baking your own bread, give you the basic method (this blog post), and then spend the remaining two thirds with filler (alternate recipes, the jazz it up paragraph in the post above). While at the library you should browse the shelves and flip through every bread book available, you never know where you’ll come across a random useful snippet amidst all the food porn. Here are some of my favorites:
Finally, my instructions are vague because it’s just going to take a few (or lots) failed attempts to get a feel for the dough. As such, I’d suggest doing smaller loaves so you can plow through the bummers in a short amount of time. I baked every day for three weeks before getting consistent, sometimes a couple loaves at a time for A/B tests. I could try harder to describe the right feel for things, but it would be as futile as all the books I read while fighting my failed loaves for those first three weeks.
In the end, you gotta just make it happen. So start. Now.
On Sunday we decided to make some noodles, but my wife wanted to do something other than our usual 2 egg, 3 flour pasta. So we looked around online and found a pretty simple ratio on a Chinese website, 1 egg, 3 water, and 8 flour.
So we mixed up a 48g egg, with 152g water, and 400g flour, let it rest for an hour, and then rolled it out to the medium 5 setting and cut the noodles, cooked them and threw them in some soup. Most of the dough was used up that night, but the real revelation came last night after when we made noodles out of the remaining dough. The noodles from Sunday were good, but Monday dinner was extra springy with some bounce.
In the past we had tried storing leftover noodle dough for a couple nights in the fridge and it had gone bad, so these aren’t things you can let sit too long, but it seems that giving them an extra 24 hours works out very nicely.
This week, I read an article defending bread against all its current detractors. The claim was fiberless bread is the culprit for all our woes, and it recommended a minimum of 10% fiber relative to carbohydrates. I had already planned on skipping on the dried fruit this week, so I decided to add some whole wheat flour and crank up the flax seed meal and chia seeds, both of which are pretty heavy in fiber.
This morning, I still hadn’t gotten around to getting whole wheat flour so I started with a regular loaf and went heavy on the additives, but my wife went on a grocery run and picked some up, hence the odd 450g of flour this week. We also used up the last of our Arrowhead flour which is pretty thirsty, so I dropped the water ratio a little bit until I added the whole wheat which always soaks up a bit of water. According to my breadsheet, this gets me to 12.4% fiber.
400g all purpose flour (primarily King Arthur this time)
50g whole wheat flour
330g water
100g starter (the usual 50/50 mix)
10g salt
60g chia seeds, soaked in 90g water
60g flaxseed meal, soaked in 120g water
The mix and shape went well with the new SOP’s and the bread came out great. It’s a little flat as usual, but I suspect I need to get a larger dutch oven if I want it to rise a little more. You can see the flecks of whole wheat but at 10% its doesn’t affect the flavor or texture at all. I think the flaxseed is very, very oily which is why the crust is more akin to one of my enriched breads, but that’s just fine. As for the whole wheat I’m thinking about trying to get the ratio crazy high, but to do it in 10% increments so that when my wife says enough, I’ll know to stop. Next week will definitely be 20%.
Anyone with a sourdough starter needs a good backup plan for using it up without baking. The easy answers are to compost it or make pancakes.
This pancake recipe is a modified from what I found online, with sugar and baking soda way reduced, and simplified due to laziness.
±240g (1 cup) starter
1 egg
1 tablespoon sugar
2 tablespoons olive oil
1/4 teaspoon salt
1/8 teaspoon baking soda or baking powder, whatever you got.
The process is quite simple also. Preheat your skillet with butter, medium heat. Mix up all the ingredients real good. Drop in a couple spoonfuls of batter into the skillet. Flip after a minute or two. Flip again after a minute. Do it again. Makes three or four pancakes. Add butter and syrup. Eat.
If you look at the Michael Ruhlman’s ratio for pancakes, you’ll see that we’ve essentially backed into his formula. 2 flour : 2 water : 1 egg : 1/2 fat. The recipe above its 120g flour : 120g water : 50g egg : 28g olive oil.
However, don’t let the false exactness of the ratios confuse you, my recipe is very loose. If I have a bigger egg or less starter, it will just be little flatter. If you want it fluffier, add more baking soda. If you want to make a crepe, add a second egg and skip the baking powder. If you’re short on starter, just add equal parts flour and water and definitely throw in more baking powder.
Ultimately this recipe is all about burning up your leftover starter. This will be especially important if you get into the Chad Robertson’s Tartine method, where you refresh your starter a couple times before making the dough. I hate waste, so I usually skip the refresh (which is a polite way to say throw away most of the starter and feed the remainder) and just live with a slower rise and miss out on any smidgen of extra flavour profile I’d otherwise obtain.
But even then, I still occasionally need to burn up starter. Feeding the little fellow for another week’s hibernation is a doubling exercise, requiring at least an equal amount of fresh material. So if I have 100g of starter, I need to add 50g of flour and 50g of water. You can see where this will lead if left unchecked, and pancakes is our buffer.
And it’s also where my girl started cooking. So it’s sentimental too.
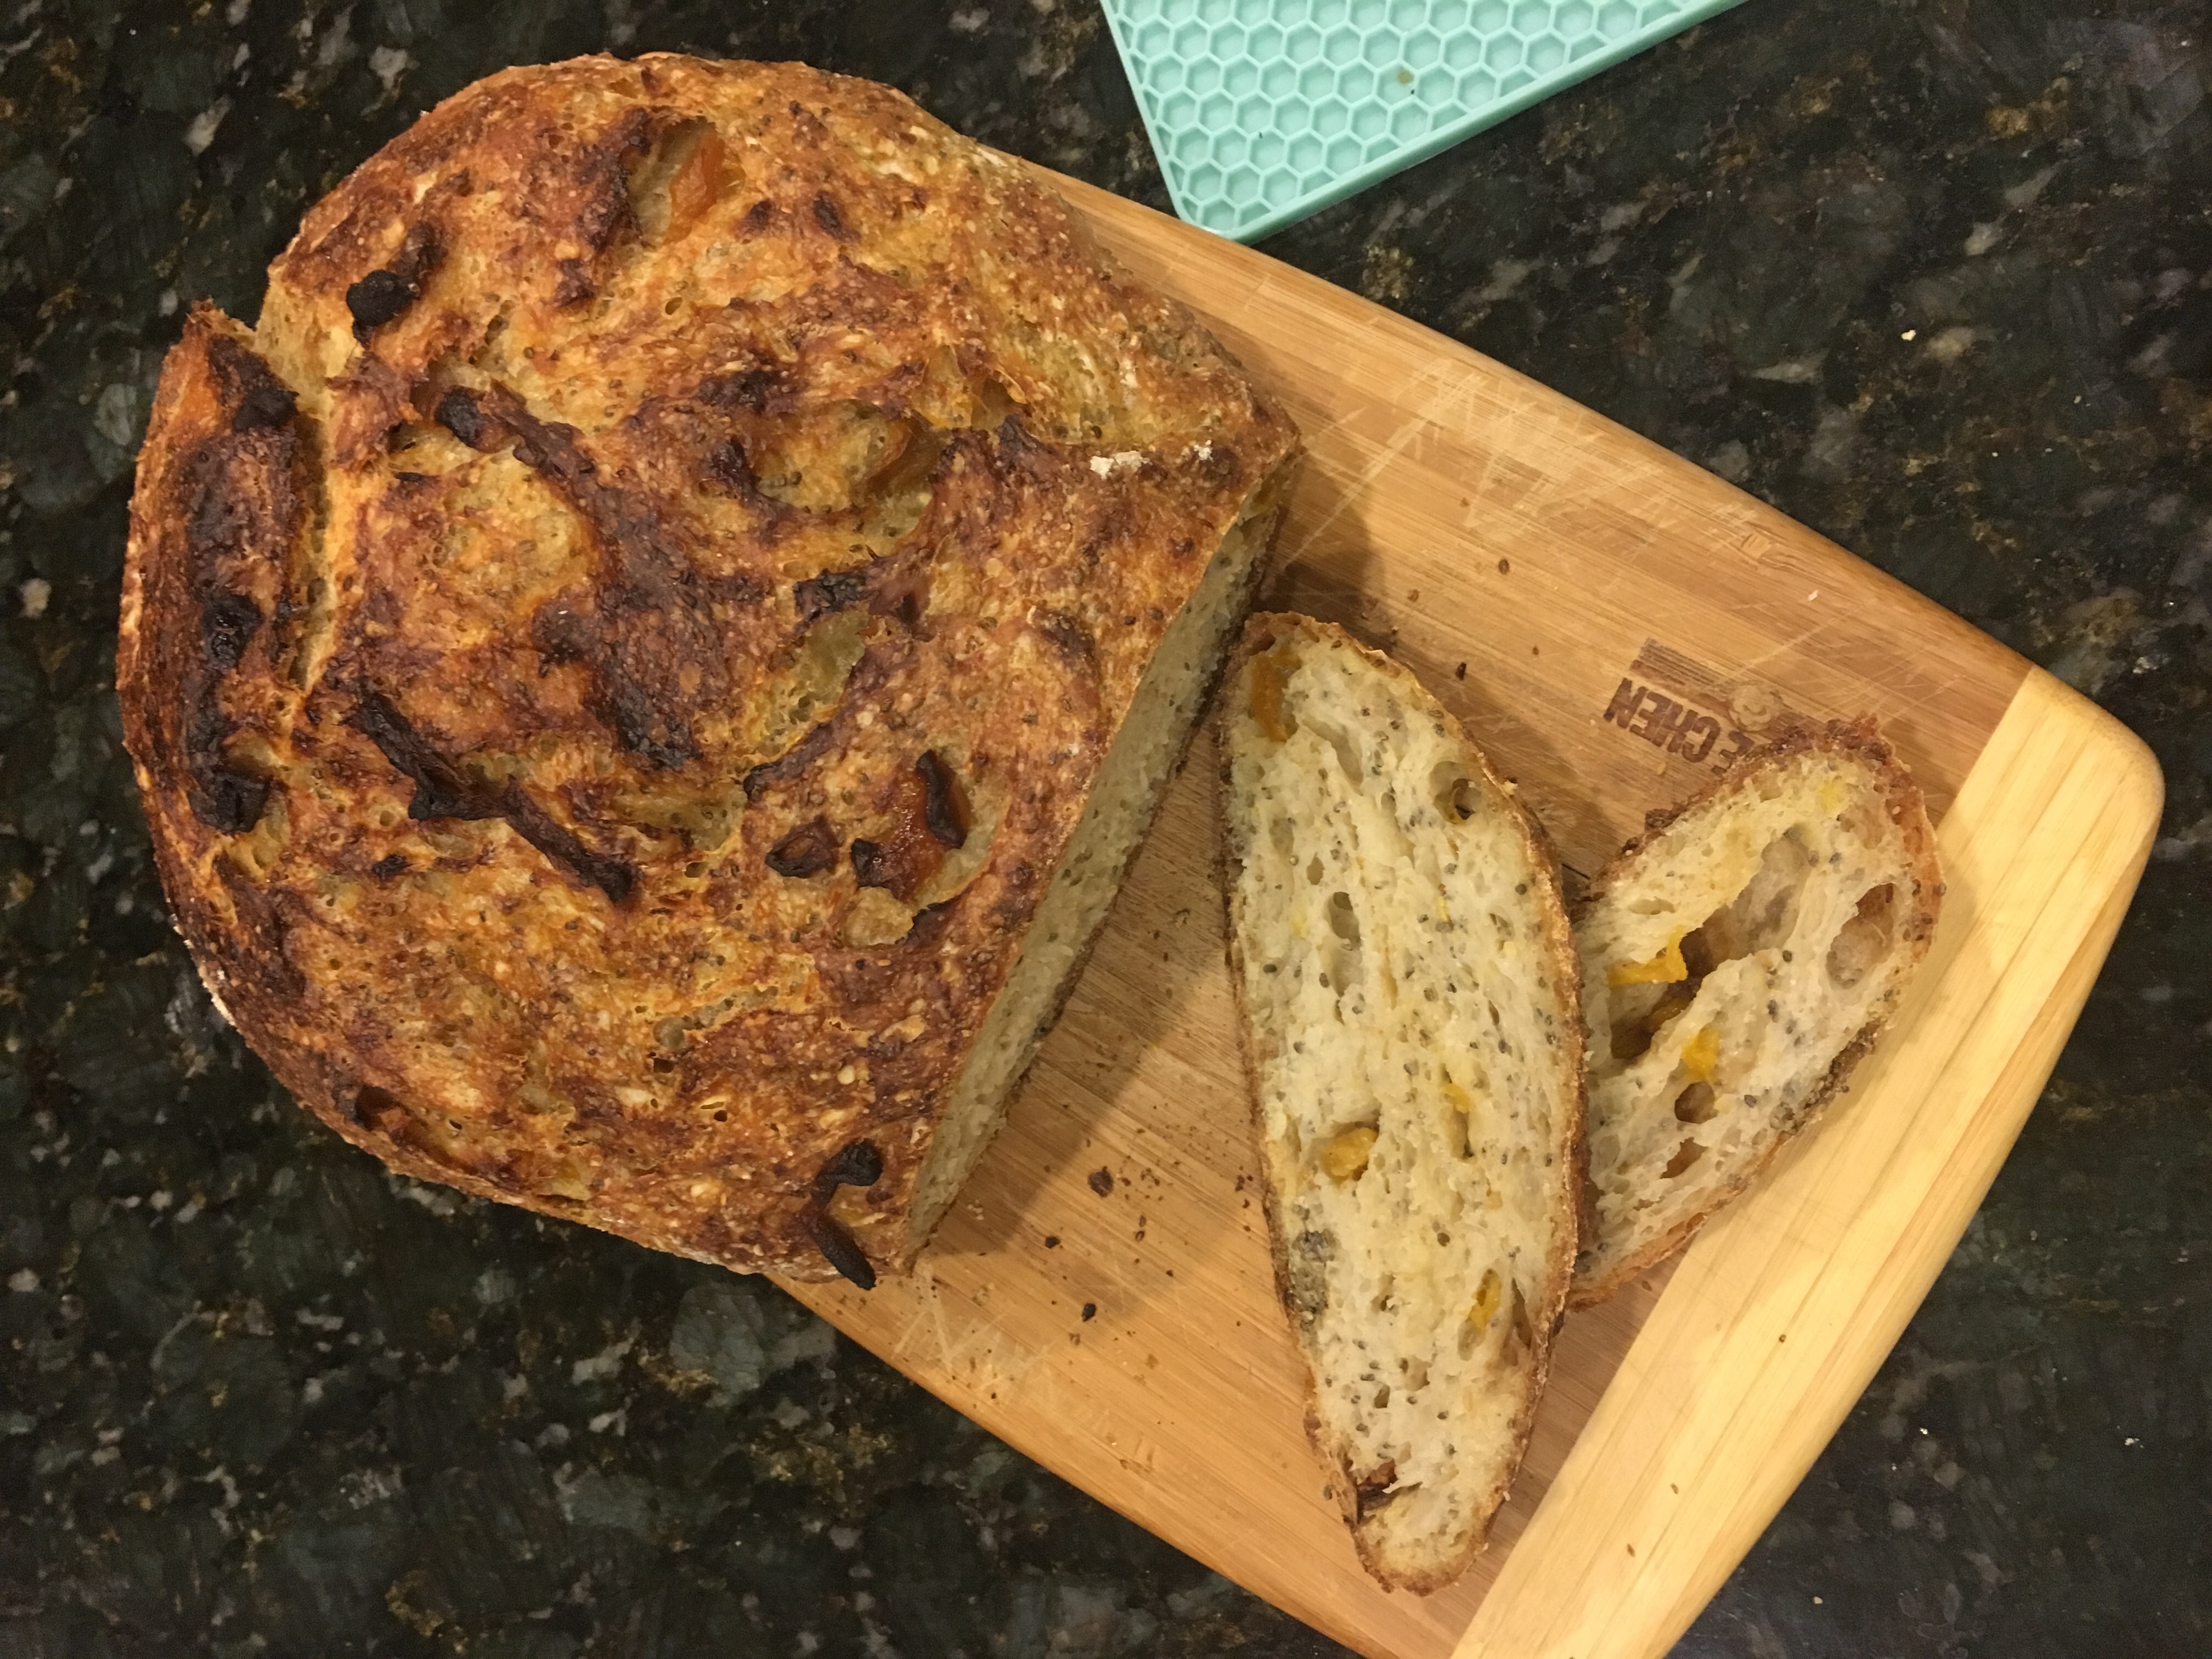
Nothing particularly special about this bread. It is very similar to last week’s bread, except that I used the starter straight out of the fridge (my usual process) and now that the dried figs and apricots are gone, we opened up a giant bag of dried mangoes, to the great delight of our daughter!
400g flour
300g water
100g starter (the usual 50/50 mix)
10g salt
60g rehydrated mangos
40g chia seeds, soaked in 60g water
40g flaxseed meal, soaked in 80g water
Since the starter came out cold from the fridge, the proof started slow which was further retarded because the dough went into the fridge so we could attend Winnie the Pooh at the Rainbow Company Youth Theater. The show was was great fun even I don’t think our daughter quite follow the story.
On Monday evening, I put the dough in the oven’s proof function and it rose high enough to bake. Like the previous couple weeks, the dough was still cool to the touch when I shaped it, but for once it wasn’t overproofed. Per my new standard operating procedure, the oven temperature was held at 450f, and only the pot was preheated without the lid. I tried using silicone pot holders instead of oven mitts for the first time. It worked perfectly well and meant I didn’t have to fully dry off my hands after washing off any dough from the final shaping.
The bread came out nicely, with a lighter crumb than the last couple weeks. I am generally satisfied with the flavor my loaves, even if I don’t push the limits of proofing my bread. Ken Forkish recommends pushing the proof as long as possible, but given the downsides of overdoing it, I really need to get his voice out of my head. I’m certain he is giving good advice for competitive bakers, but it really isn’t the hassle for someone like me.
As for the mangoes, I can’t tell the difference between this and the previous loaves. Next week, I’ll just leave out the dried fruit and spare us the added sugar.
